Composer
Composer is the missing package manager that I wanted since the early 2000s. In the past, if you added any PHP libraries to your project, you had to download them manually. If at a later date an update was published, then you would have to manually apply them to your codebase. More often than not, you would often forget to do this and would be running out of date code. These out of date libraries would end up posing a security risk to your website.
This is where Composer comes to the rescue.
Let’s install Composer on your computer.
Using Homebrew to install Composer
The quickest and easiest way to install Composer is by using Homebrew.
% brew install composer
Installing Composer Without Homebrew
You don’t need to use brew to install composer, but I would recommend using it. However, you do not wish to use brew, then there is another way to install composer. Composer is available from the getcomposer.org website.

This script embeds a hash of the scripts to allow it to verify that what you download is the actual program. This is to make that it hasn’t been modified in any way. The latest version of the script is available from https://getcomposer.org/download/
I would recommend changing the 3rd line to store composer into your path so that you can invoke Composer as you could when it was installed with brew.
% php composer-setup.php --install-dir=/usr/local/bin --filename=composer
Getting Started with Composer
Composer works by storing all your project dependencies in a file in the root of your project called composer.json. When the dependencies have been installed Composer then creates another file called composer.lock, which stores the exact version of all the libraries that have been installed.
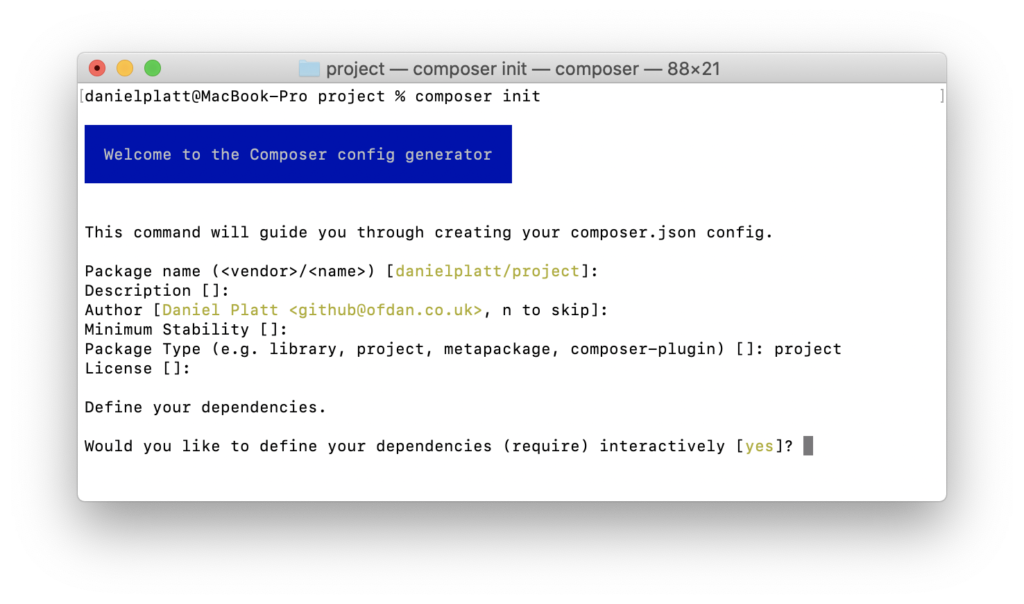
If you do not have a composer.json file, then you can run through composer’s initial setup to create this for you.

Defining your Project Dependencies in Composer
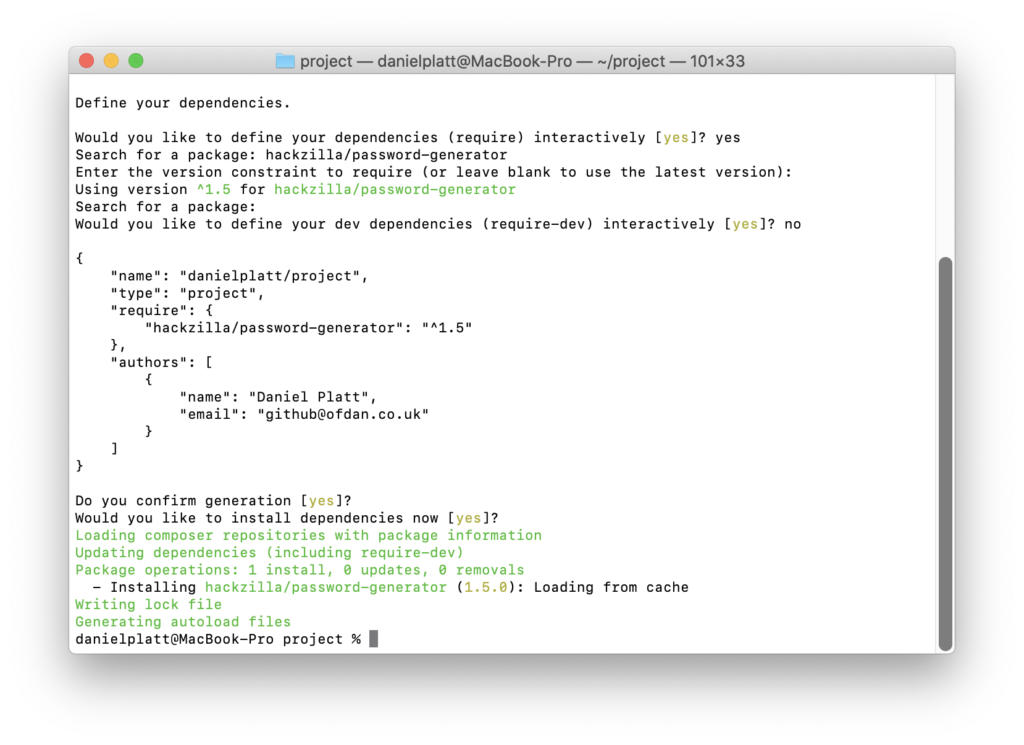
During composer init, you will be asked to define your dependencies.
This is something that you don’t have to do now. If you want to skip this step, answer with “no”. Composer will refer to dependencies as packages.
At this point, you can try searching for a library whose name matches what you are looking for. Alternatively, you can type in the exact package that you want to install.

Development Dependencies
There are two types of dependencies that your project will use.
Production
The production dependencies are required to make your project work. If your project is a website, then the dependencies are required to generate your site.
Development
In contrast, the development, or dev dependencies are not needed for your website to load. However they would be you to build your site.
An example of a dev dependencies would be libraries that minify your javascript and css files.
These libraries would never need to be installed on your live site.
Adding Dependencies at a later date
Previously, have added dependencies when we created the composer.json file. Now I want to show you how you can use composer to add additional dependencies to your composer.json file.
Adding additional dependencies is straightforward with the composer’s require verb.
% composer require
Search for a package:
Adding a development dependency using the require verb is achieved with the –dev argument to require.
% composer require --dev
Search for a package:
If you know the name of the package that you require
% composer require "hackzilla/password-generator"
Adding a development dependency using the require verb is achieved with the –dev argument to require.
% composer require --dev "hackzilla/password-generator"
Searching for Dependencies
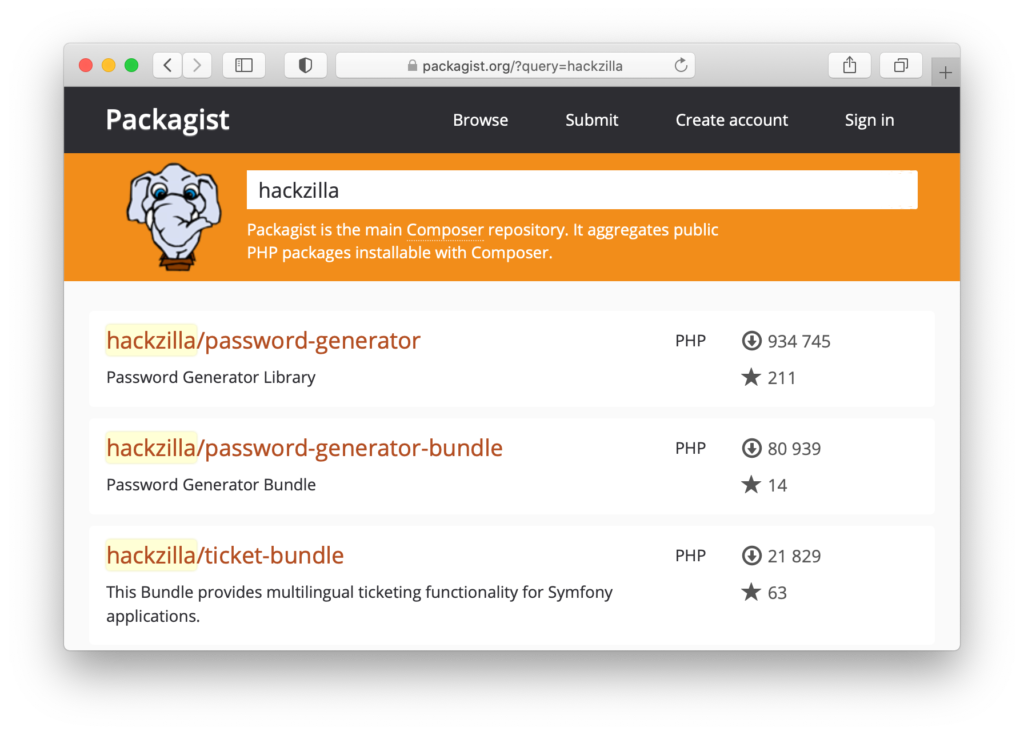
We’ve been using composer to search for packages. In the last examples, we had a specific package name, hackzilla/password-generator.
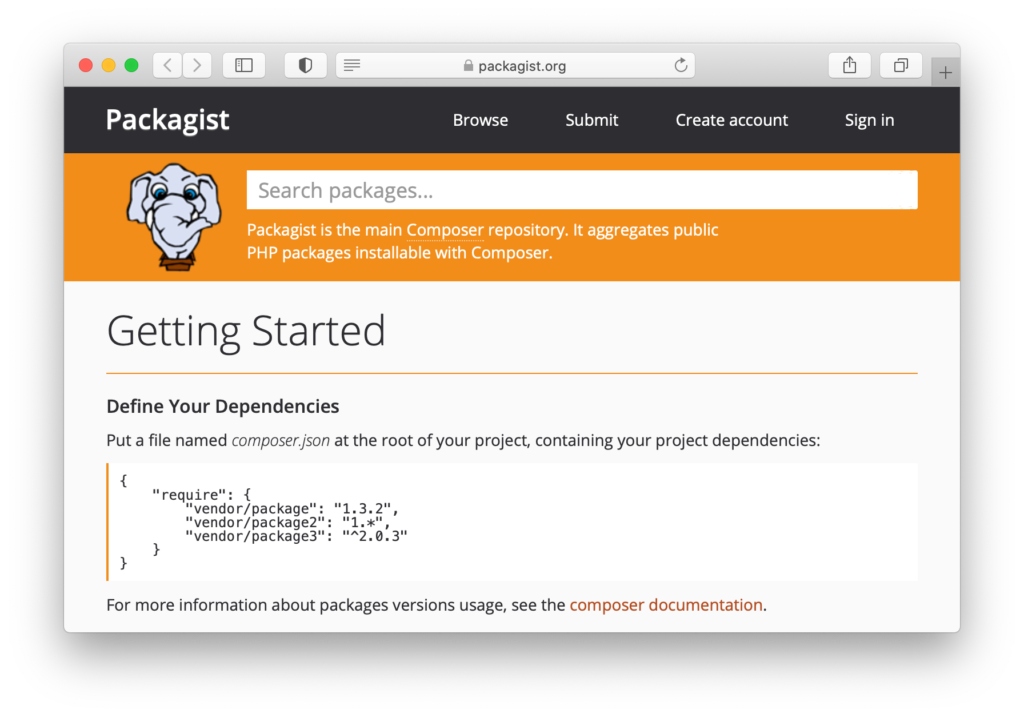
Composer has a companion website called https://packagist.org/

The search box works in a similar fashion to composer, but it will return a lot more information about the different packages that it finds.

Using the Installed Dependencies in your Project
Using the dependencies is very straightforward. All you need to do is include the composer autoloader, which lives inside the vendor directory.
Here is an example script, that shows you how the hackzilla/password-generator is used.
<?php

require "vendor/autoload.php";

use Hackzilla\PasswordGenerator\Generator\ComputerPasswordGenerator;

$generator = new ComputerPasswordGenerator();

$generator
  ->setOptionValue(ComputerPasswordGenerator::OPTION_UPPER_CASE, true)
  ->setOptionValue(ComputerPasswordGenerator::OPTION_LOWER_CASE, true)
  ->setOptionValue(ComputerPasswordGenerator::OPTION_NUMBERS, true)
  ->setOptionValue(ComputerPasswordGenerator::OPTION_SYMBOLS, false)
;

$password = $generator->generatePassword();
Keeping your Project Dependencies Up-To-Date.
Once you have your project up and running, keeping your php libraries up-to-date is very easy with “composer update”.
% composer update
Loading composer repositories with package information
Updating dependencies (including require-dev)
Nothing to install or update
Generating autoload files
Conclusion
Using composer to keep your project dependencies up-to-date is easy to do, but requires discipline to make sure that you add them to your composer.json file.

